
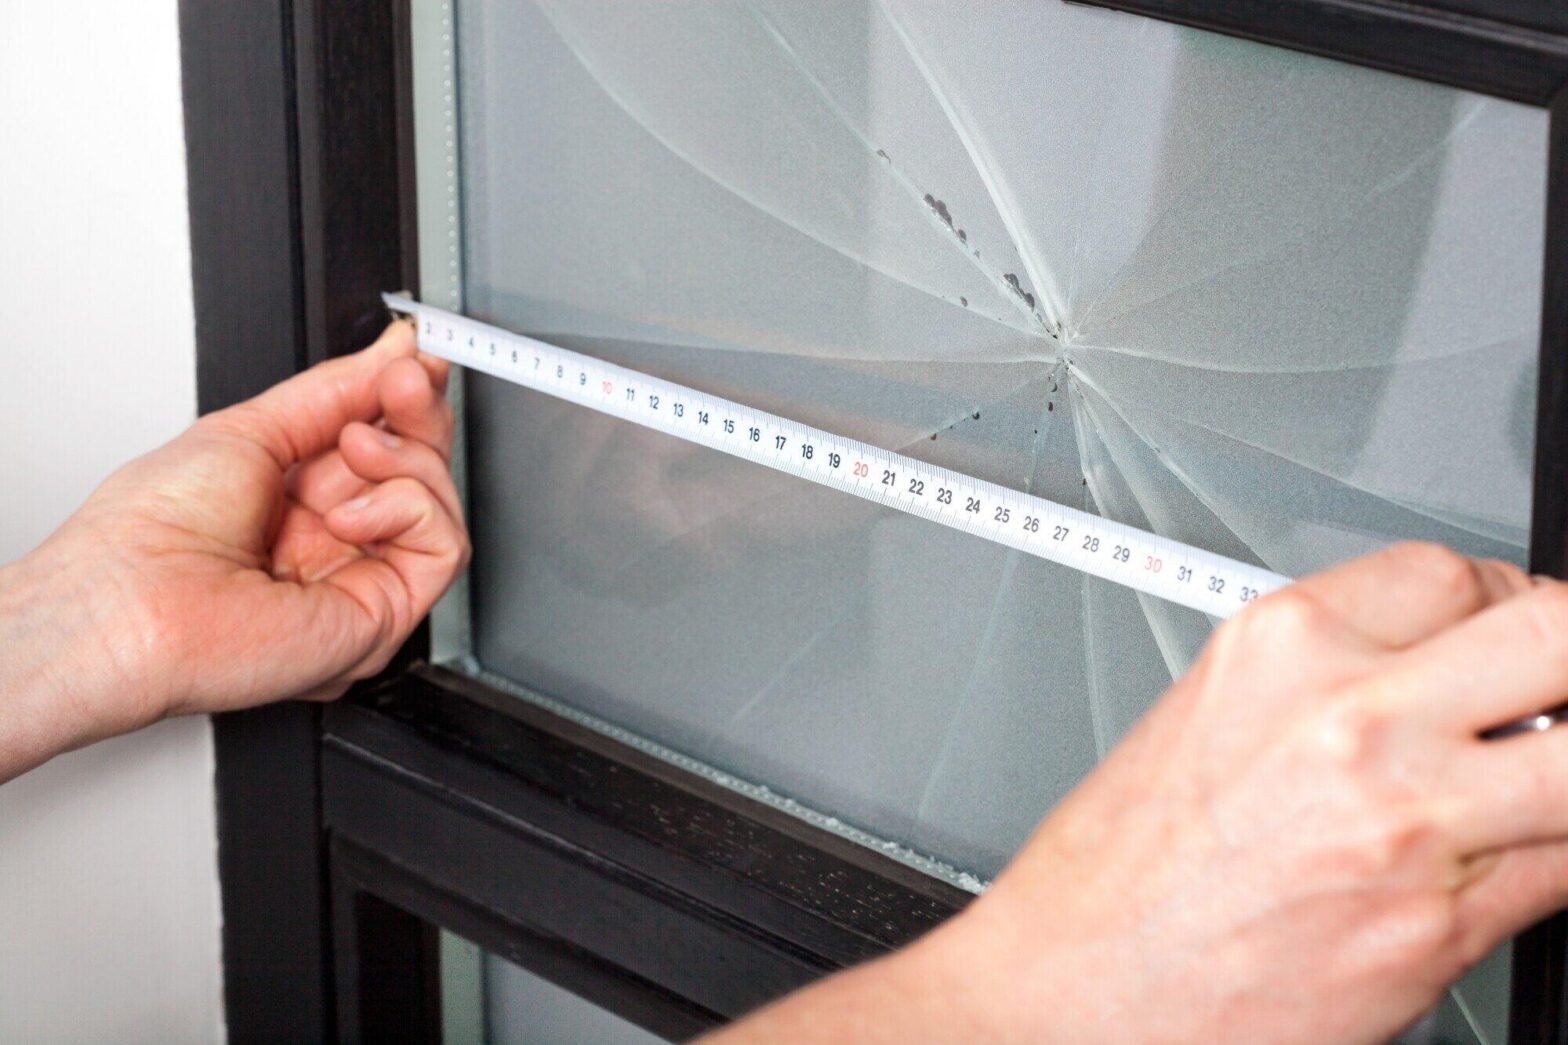
Measuring windows for replacement starts with recording the width and height in three places, using the smallest numbers, and checking the depth to ensure the new unit will fit properly. You’ll also need to confirm the opening is square by comparing diagonal measurements and account for a small clearance gap for installation. When done correctly, this process helps prevent drafts, poor insulation, and costly sizing mistakes.
According to the U.S. Department of Energy, heat gain and loss through windows are responsible for 25 to 30 percent of residential heating and cooling energy. Are you unsure whether your current measurements are accurate enough to avoid those energy losses? Learning how to measure windows for replacement is the first step toward a better fit and improved efficiency.
What Is the Cheapest Time of Year to Buy Windows?
Buying replacement windows at the right time can lower your overall cost and give you more flexibility with scheduling. Prices often shift based on demand, which makes timing an important part of planning your project. Before placing an order, it helps to understand when discounts are more likely and how that connects with your guide to measuring windows:
- Off-season pricing
- Contractor availability
- Preparation for accurate measurements
Off-Season Pricing
Window companies tend to offer better deals in late fall and winter. Demand slows down during these months, so businesses often run promotions to keep work steady.
You might find lower product prices or reduced installation fees during this period. Planning ahead gives you time to complete your how to measure windows for replacement process before sales begin.
Contractor Availability
Installers are usually less busy during colder months. That means you can schedule your project faster and may have more room to choose dates that work best for you. A less rushed schedule can help avoid mistakes.
Preparation for Accurate Measurements
Getting your measurements done early makes the buying process smoother. Taking time to double-check numbers helps you feel confident when ordering, and it reduces the risk of delays once installation begins.
Why Accurate Window Measurement Matters
Getting the size right is one of the most important parts of replacing windows. A small mistake can lead to gaps, poor insulation, or a unit that doesn’t fit at all. Careful measuring helps avoid these issues and keeps your project on track from the start:
- Preventing air leaks
- Avoiding costly replacements
- Improving energy performance
Preventing Air Leaks
Poor sizing often leads to small gaps around the frame. Air can move through these spaces, which makes rooms harder to heat or cool. Accurate window measurement helps create a tight fit, which keeps indoor temperatures more stable.
Avoiding Costly Replacements
Ordering the wrong size can waste time and money. Custom windows often can’t be returned, so even a small error may lead to a full reorder. Taking careful measurements reduces the risk of these setbacks and keeps your budget in check.
Improving Energy Performance
A well-fitted window supports better insulation. That means less strain on heating and cooling systems and more comfort inside your home. DIY window measurement can work well if you take your time and double-check each number before placing an order.
Tools You Need for Measuring Windows
Having the right tools on hand makes the measuring process smoother and more reliable. You don’t need a large kit, but each item plays a role in getting clean and consistent numbers. A simple setup can support a solid guide to measuring windows and help reduce small errors that add up over time:
- Tape measure
- Level and square
- Notepad and pencil
Tape Measure
A sturdy tape measure is the most important tool for the job. A steel tape works best since it stays straight when extended. That makes it easier to measure across wider openings without bending or shifting.
Level and Square
A level helps you check if the window opening sits evenly. A square can show if the corners are at proper right angles. These checks matter when measuring window frames that may have shifted over time.
Notepad and Pencil
Writing down each number as you go keeps things organized. It’s easy to mix up measurements if you rely on memory. Clear notes help you double-check your work before placing an order.
How To Measure Windows For Replacement
Getting precise numbers takes a steady approach and a bit of patience. Small differences across a frame can affect how well a new window fits. A consistent method helps you avoid confusion and supports accurate window measurement from start to finish:
- Measure width in three spots
- Measure height in three spots
- Check depth and squareness
Measure Width in Three Spots
Start by measuring the width at the top, middle, and bottom of the window opening. Place the tape measure from one inside edge to the other.
Write down each number as you go. Openings aren’t always perfectly even, so slight changes are common. Use the smallest of the three numbers when recording your final width for window replacement measurements.
Measure Height in Three Spots
Next, measure the height along the left side, center, and right side. Keep the tape straight and tight against the frame. Record each result clearly. As with width, choose the smallest number to avoid ordering a unit that won’t fit.
Check Depth and Squareness
Measure the depth from the inside edge to the outside stop. A proper depth allows the new window to sit securely.
To check for square, measure diagonally from corner to corner both ways. Matching numbers show the frame is even, while differences may require adjustments.
Measuring Different Types of Window Frames
Not all windows are built the same, and each style can affect how you take measurements. Frame design, movement, and shape all play a role in how you approach the process. Paying attention to these differences helps improve accuracy and supports better DIY window measurement results:
- Double-hung windows
- Casement windows
- Sliding windows
- Bay or bow windows
Double-Hung Windows
Double-hung windows are one of the most common types. Both sashes can move, so it’s best to measure the opening where the sash sits when closed. Keep the tape inside the frame and take readings at multiple points to catch any uneven areas.
Casement Windows
Casement windows open outward on hinges. Measure from the inside edges of the frame, not the sash itself. Hinges and hardware can slightly shift the frame over time, so careful measuring window frames becomes more important here.
Sliding Windows
Sliding windows move side to side along a track. Measure the full width of the opening and check the track area for any buildup or wear. A clean track helps you get a more accurate reading.
Bay or Bow Windows
Bay and bow windows extend outward from the wall. Each section may need its own measurement. Angles between panels can vary, so taking separate measurements for each part leads to better overall fit.
Frequently Asked Questions
How Much Smaller Should Replacement Windows Be Than the Opening?
Replacement windows should be slightly smaller than the opening to allow for a proper fit. Most installers leave a gap of about 1/4 inch to 1/2 inch on each side.
That space gives room for adjustments and insulation during installation. Without that gap, the window may not slide into place correctly. A tight fit might seem ideal, but it can cause pressure on the frame and lead to problems over time.
Can I Measure Windows Without Removing Trim?
You can measure windows without removing trim, but it may not give the most precise results. Trim can hide the full size of the opening, which makes it harder to see the true edges.
Measuring inside the visible frame works for basic estimates. For a more exact fit, removing trim can reveal the full opening and help avoid small errors.
What Is the Difference Between Rough Opening and Finished Opening?
A rough opening refers to the space inside the wall framing before any trim or finishing materials are added. The finished opening is what you see after trim, drywall, or casing is installed. Window manufacturers often use rough opening measurements to size their products. Knowing the difference helps you avoid ordering the wrong dimensions.
Do I Need Professional Help for Measuring Windows?
Some homeowners feel comfortable handling measurements on their own. DIY window measurement works well if you take your time and double-check each step.
Larger or more complex window styles may require expert help. A professional can spot issues like uneven frames or hidden damage that affect sizing.
DIY Window Measurement Help
Getting the measurements right sets the foundation for a smooth window upgrade. Taking your time and double-checking each step can prevent costly errors. Once you understand how to measure windows for replacement, you’ll feel more confident placing an order and getting a proper fit that improves comfort and efficiency.
At Best Buy Windows and Siding, we’ve spent over 25 years serving Richardson and the North Texas area with custom replacement windows and vinyl siding. Our team delivers start-to-finish service, honest pricing, and no-hassle quotes. We stand out by combining energy-efficient products, expert installation, and a “no payment until you’re satisfied” promise that puts your comfort first.
Get in touch today to find out how we can help with your window needs!